本文的实践代码已上传到github, 地址为: abelard2008/cas-5.2-server-client
本文的参考为CAS之 5.2x版本配置数据库认证-yellowcong和CAS 5.2.x 单点登录 - 搭建服务端和客户端, 以及另一个同事的项目代码. 其它参考:
(2) CAS Properties
这里没有讨论keystore等有关内容.
版本
- CAS 5.2.6
- JDK openjdk version 1.8.0_191
- Tomcat 8.5.16
- MySQL 8.0.13
- jdbc mysql-connector-java-8.0.11.jar
服务器端
从cas-overlay-template-5.2.zip下载Overlay版本, 并解压后, 在主目录下执行如下命令:
注: 对应的源代码版本在cas source
1
2
cd cas-overlay-template-5.2
./build.sh package
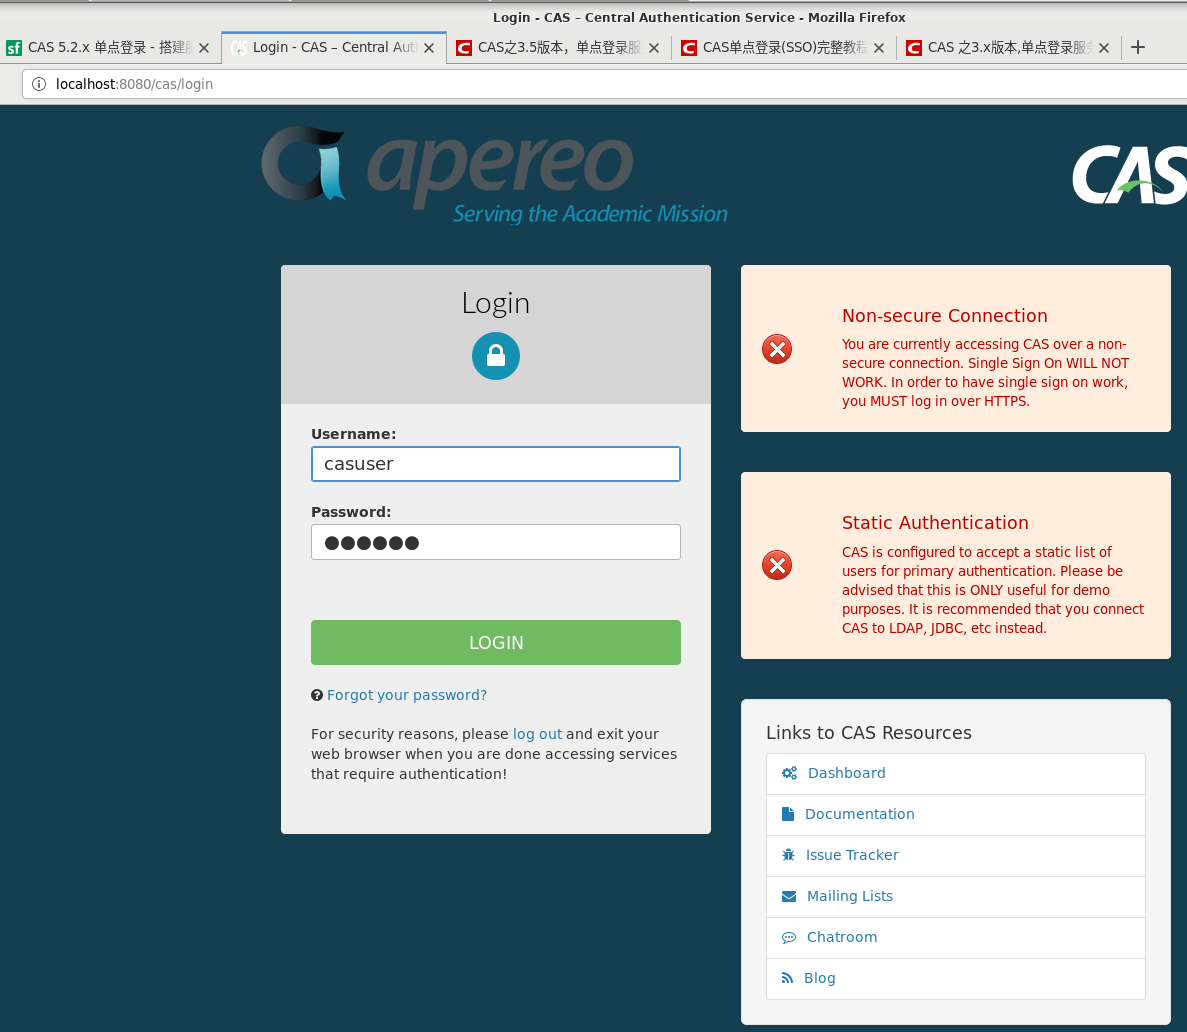
在生成的target目录下有cas目录, 将cas整个目录直接复制到tomcat/webapps下面, 重新启动tomcat, 就可以使用在WEB-INF/classes/application.properties的用户名和密码进行登陆了.
1
2
3
4
##
# CAS Authentication Credentials
#
cas.authn.accept.users=casuser::Mellon
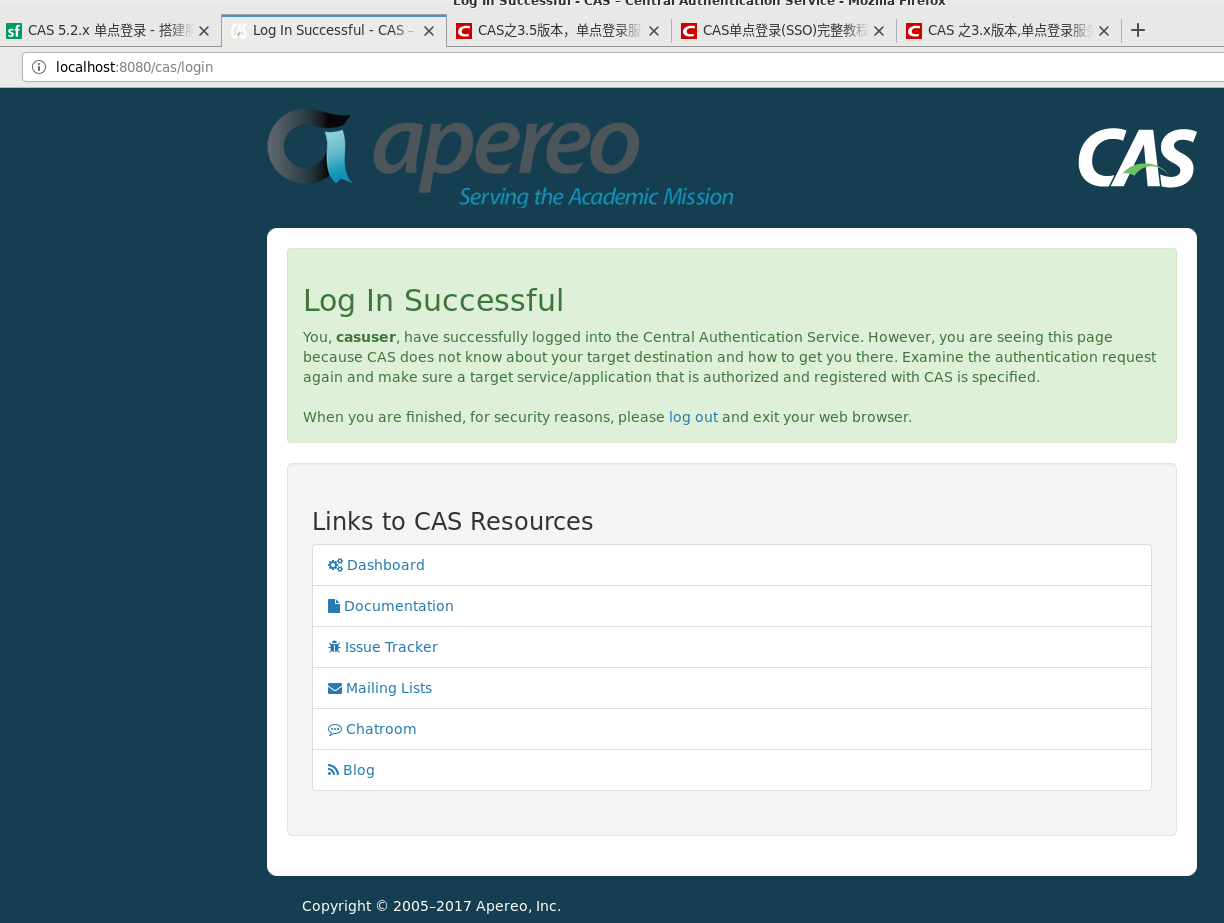
 登录成功后的页面如下:
JDBC访问用户信息
相关解释可以参考Apereo CAS - Attribute-based Application Authorization和CAS之 5.2x版本配置数据库认证-yellowcong等
-
添加配置信息到WEB-INF/classes/application.properties.
1 2 3 4 5 6 7 8 9 10 11 12 13 14 15 16 17 18 19 20 21 22 23 24 25 26 27 28 29 30 31 32 33 34 35 36 37 38 39 40 41 42
## # CAS Authentication Credentials # #cas.authn.accept.users=casuser::Mellon 注释掉原来的用户 #数据库配置 #配置密码加密 cas.authn.jdbc.query[0].passwordEncoder.type=DEFAULT cas.authn.jdbc.query[0].passwordEncoder.characterEncoding=UTF-8 cas.authn.jdbc.query[0].passwordEncoder.encodingAlgorithm=MD5 cas.authn.jdbc.query[0].sql= select password from user where account=? and valid=true cas.authn.jdbc.query[0].healthQuery= cas.authn.jdbc.query[0].isolateInternalQueries=false cas.authn.jdbc.query[0].url=jdbc:mysql://10.10.1.212:3306/db_user?useUnicode=true&characterEncoding=UTF-8&zeroDateTimeBehavior=CONVERT_TO_NULL cas.authn.jdbc.query[0].dialect=org.hibernate.dialect.MySQLDialect cas.authn.jdbc.query[0].leakThreshold=10 cas.authn.jdbc.query[0].batchSize=1 cas.authn.jdbc.query[0].user=root cas.authn.jdbc.query[0].password=root cas.authn.jdbc.query[0].autocommit=false cas.authn.jdbc.query[0].driverClass=com.mysql.jdbc.Driver cas.authn.jdbc.query[0].idleTimeout=5000 cas.authn.jdbc.query[0].fieldPassword=PASSWORD cas.authn.jdbc.query[0].passwordEncoder.type=DEFAULT cas.authn.jdbc.query[0].passwordEncoder.characterEncoding=UTF-8 cas.authn.jdbc.query[0].passwordEncoder.encodingAlgorithm=MD5 #多属性 cas.authn.attributeRepository.jdbc[0].singleRow=true cas.authn.attributeRepository.jdbc[0].order=0 cas.authn.attributeRepository.jdbc[0].url=jdbc:mysql://10.10.1.212:3306/db_user?useUnicode=true&characterEncoding=UTF-8&zeroDateTimeBehavior=CONVERT_TO_NULL cas.authn.attributeRepository.jdbc[0].username=account cas.authn.attributeRepository.jdbc[0].user=root cas.authn.attributeRepository.jdbc[0].password=root cas.authn.attributeRepository.jdbc[0].sql=select * from user where {0} cas.authn.attributeRepository.jdbc[0].dialect=org.hibernate.dialect.MySQLDialect cas.authn.attributeRepository.jdbc[0].ddlAuto=none cas.authn.attributeRepository.jdbc[0].driverClass=com.mysql.jdbc.Driver cas.authn.attributeRepository.jdbc[0].leakThreshold=10 cas.authn.attributeRepository.jdbc[0].batchSize=1 cas.authn.attributeRepository.jdbc[0].healthQuery=SELECT 1 -
添加用户信息
在mysql中根据自己的需要创建一个数据库和表, 而该表的名称和查询条件体现在上面配置的这句, 另外需要注意的是上面关于密码的配置,表明需要原始密码如’123456’, 需要进行MD5(‘123456’)后插入表中(使用mysql本身提供的MD5函数即可,如 update user set password = MD5(‘123456’) where account = ‘test’)
1
2
3
      cas.authn.jdbc.query[0].passwordEncoder.encodingAlgorithm=MD5
      cas.authn.jdbc.query[0].sql= select password  from user  where account=? and  valid=true
      cas.authn.attributeRepository.jdbc[0].url=jdbc:mysql://10.10.1.212:3306/db_user?useUnicode=true&characterEncoding=UTF-8&zeroDateTimeBehavior=CONVERT_TO_NULL
- JDBC驱动包支持
配置好上面的文件后, tomcat重启, 登录并不会成功, 最可能出现的错误为下面的页面:
原因是CAS启动时,缺少jdbc服务的支持, 需要在 cas-overlay-template-5.2的 pom.xml 文件中添加相关依赖,然后重新编译,
1
2
3
4
5
6
7
8
9
10
11
12
13
14
15
16
17
18
19
    <dependencies>
    <dependency>
       <groupId>org.apereo.cas</groupId>
       <artifactId>cas-server-support-json-service-registry</artifactId>
       <version>${cas.version}</version>
    </dependency>
    <dependency>
       <groupId>org.apereo.cas</groupId>
       <artifactId>cas-server-support-jdbc</artifactId>
       <version>${cas.version}</version>
    </dependency>
    <dependency>
       <groupId>org.apereo.cas</groupId>
       <artifactId>cas-server-support-jdbc-drivers</artifactId>
       <version>${cas.version}</version>
    </dependency>
    </dependencies> 编译生成的结果, 与之前的区别是,在<strong>WEB-INF/lib</strong>下多出16个jar文件, 将这些新文件添加到原来<strong>webapps/cas/WEB-INF/lib</strong>下, 重启后, 应该就可以了. 但是在本次实验中, 出现了由于版本的问题或别的原因, 当添加这16个jar文件后, <strong>tomcat</strong>居然启动失败了, 出现了一个错误:

  java.util.zip.ZipException: error in opening zip file
为此, 只好在原来lib下的289个jar文件的基础上, 添加了5个认为必需的文件:
1
2
3
4
5
   cas-server-support-jdbc-5.2.6.jar
   cas-server-support-jdbc-authentication-5.2.6.jar
   cas-server-support-jdbc-drivers-5.2.6.jar
   cas-server-support-json-service-registry-5.2.6.jar
   mysql-connector-java-8.0.11.jar 重启<strong>tomcat</strong>后, 就可以使用mysql中的用户名和密码登录了.
客户端
根据参考资料下载cas-sample-java-webapp, 由于原项目的web server使用了jetty, 并且没有一次弄成功, 最后改成了很多博客中的tomcat,
-
将主目录下pom.xml的:
1
2
3
4
5
6
7
8
9
10
11
12
13
14
15
16
17
18
19
  <plugin>
       <groupId>org.eclipse.jetty</groupId>
       <artifactId>jetty-maven-plugin</artifactId>
       <version>9.3.6.v20151106</version>
       <configuration>
           <jettyXml>${basedir}/etc/jetty/jetty.xml,${basedir}/etc/jetty/jetty-ssl.xml,${basedir}/etc/jetty/jetty-https.xml</jettyXml>
           <systemProperties>
               <systemProperty>
                   <name>org.eclipse.jetty.annotations.maxWait</name>
                   <value>300</value>
               </systemProperty>
           </systemProperties>
           <webApp>
               <contextPath>/sample</contextPath>
               <overrideDescriptor>${basedir}/etc/jetty/web.xml</overrideDescriptor>
           </webApp>
           <jvmArgs>-Xdebug -Xrunjdwp:transport=dt_socket,address=5002,server=y,suspend=n</jvmArgs>
         </configuration>
 </plugin>
改成:
1
2
3
4
5
6
7
8
9
10
11
12
    <plugin>
       <groupId>org.apache.tomcat.maven</groupId>
       <artifactId>tomcat7-maven-plugin</artifactId>
       <version>2.2</version>
       <configuration>
            <port>8181</port>
            <url>http://localhost:8080/manager/text</url>
            <uriEncoding>UTF-8</uriEncoding>
            <server>tomcat</server>
            <path>/sample</path>
      </configuration>
   </plugin>
- src/main/webapp/WEB-INF/web.xml的修改
根据1的配置, 访问该web服务的url为http://10.10.1.212:8181/sample, 因此所有在该使用到这个客户端的weburl都改成http://10.10.1.212:8181/sample, 另外, 通过上面服务器的配置和访问知道, CAS 服务器的登录访问地址为: http://10.10.1.212:8080/cas 和 http://10.10.1.212:8080/cas/login, 因此在这个Web.xml, 改成相应的url. 完成修改保存之后, 使用
1
2
3
4
5
6
7
8
9
10
    [root@localhost cas-sample-java-webapp]# mvn tomcat7:run
    ......
    [INFO] --- tomcat7-maven-plugin:2.2:run (default-cli) @ cas-sample-java-webapp ---
    [INFO] Running war on http://localhost:8181/sample
    [INFO] Creating Tomcat server configuration at /develop/remote-info/handover-from/cas-5.2-server-client/cas-sample-java-webapp/target/tomcat
    [INFO] create webapp with contextPath: /sample
    ......
    SLF4J: See http://www.slf4j.org/codes.html#StaticLoggerBinder for further details.
    Feb 02, 2019 5:46:22 PM org.apache.coyote.AbstractProtocol start
    INFO: Starting ProtocolHandler ["http-bio-8181"]
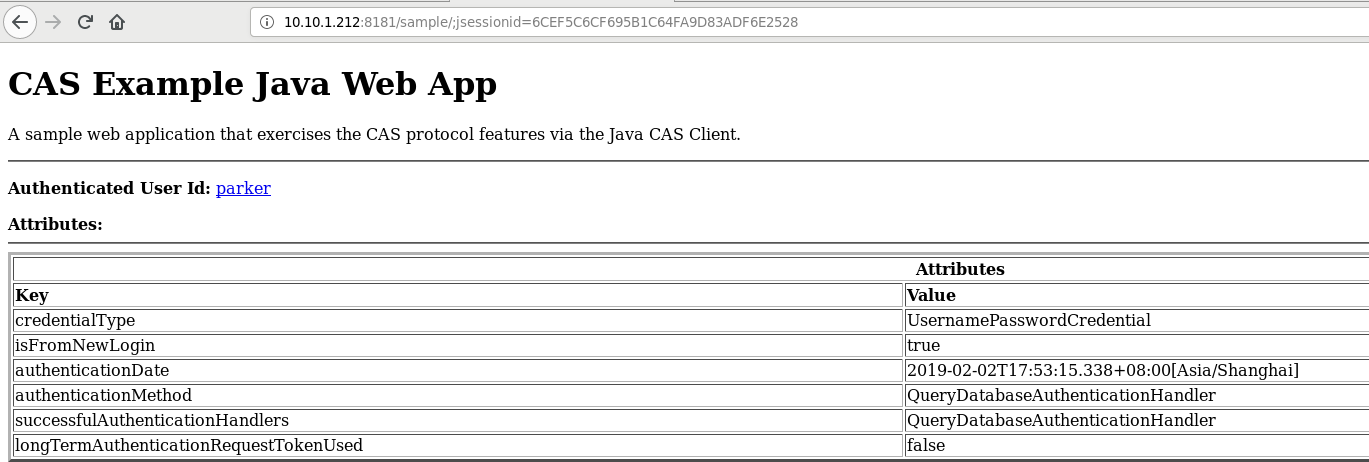
- 运行结果 在浏览器的url地址栏输入http://10.10.1.212:8181/sample, 则会跳转到上面的cas登录页面http://10.10.1.212:8080/cas/login, 输入用户名和密码, 登录成功后, 则会跳转到sample页面: